


Featured Products
-
Sale!
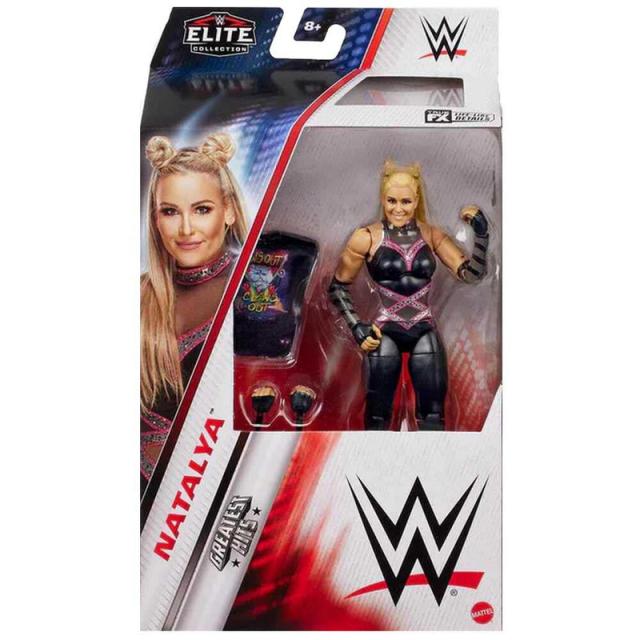
WWE | Toys Elite Collection Greatest Hitsnatalya
$ 41.00$ 19.00 Add to cart -
Sale!
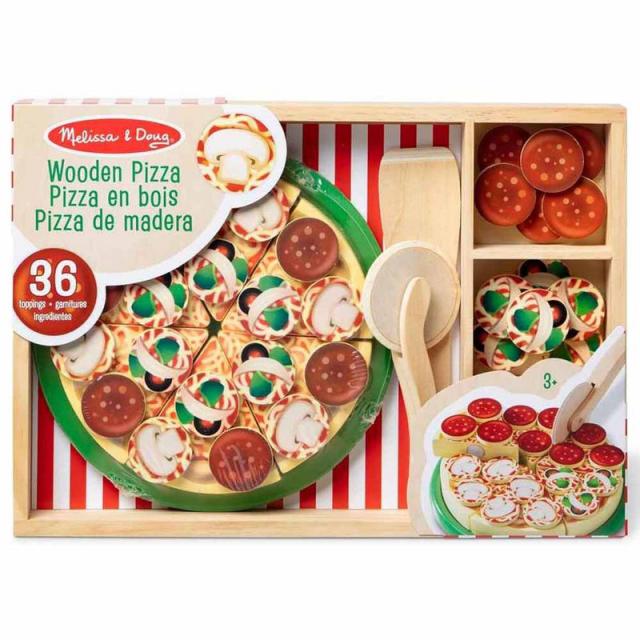
Melissa & Doug | Toys Wooden Pizza
$ 78.00$ 36.00 Add to cart -
Sale!
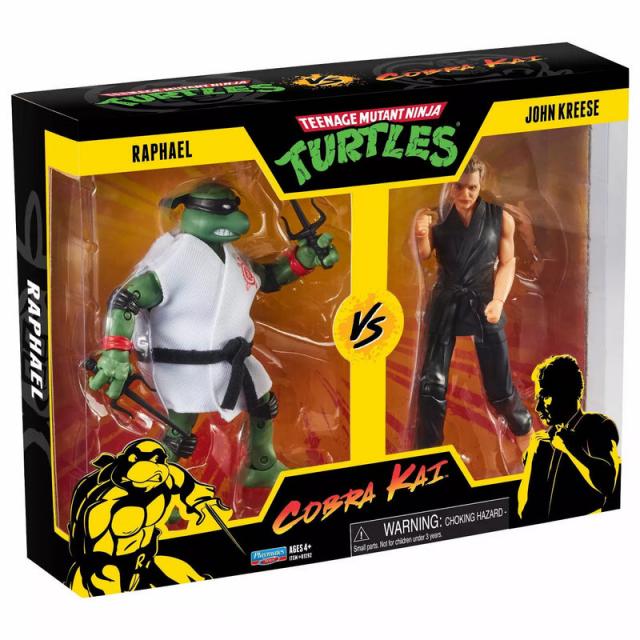
TMNT | Toys Vs Cobra Kai 2 Packraphael John Kreese
$ 60.00$ 28.00 Add to cart -
Sale!
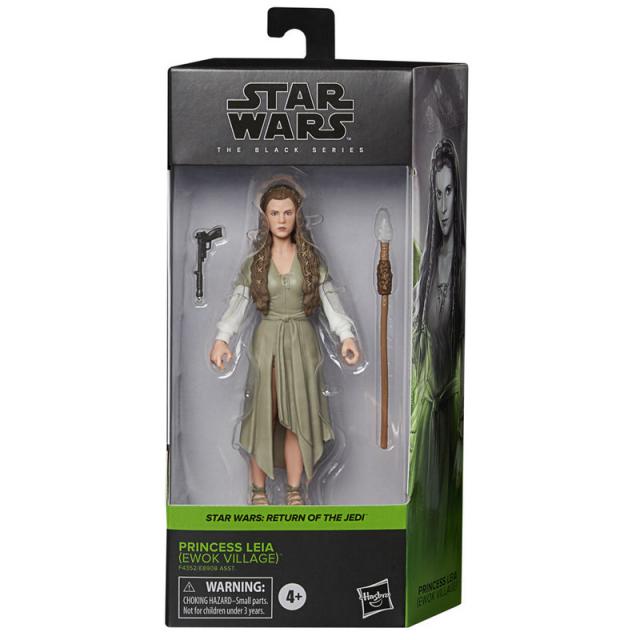
Star Wars | Toys The Black Seriesprincess Leia (Ewok Village)
$ 44.00$ 20.00 Add to cart


Latest Products
-
Sale!
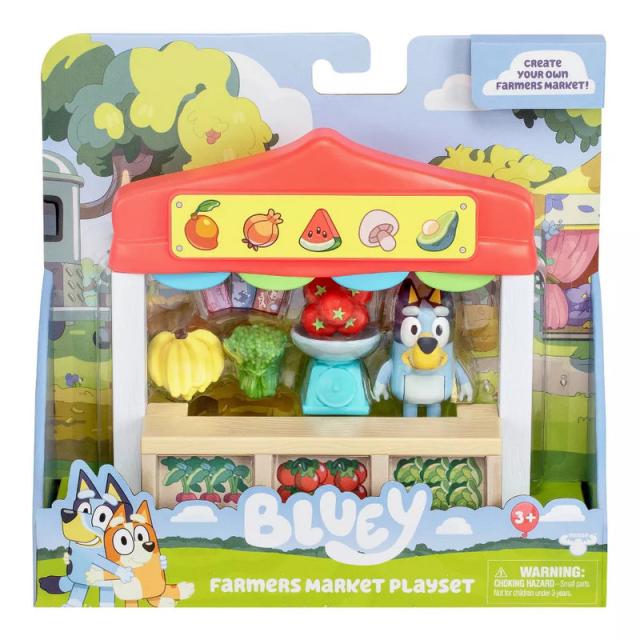
Bluey | Toys Farmers Market Playset
$ 24.00$ 11.00 Add to cart -
Sale!
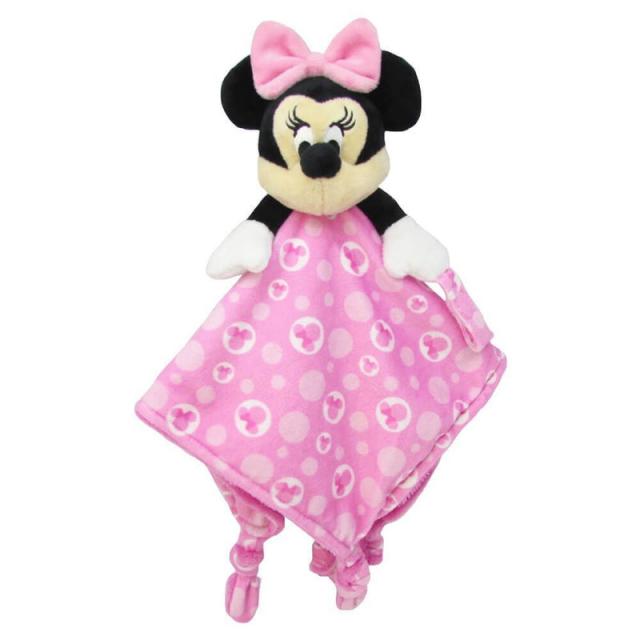
Disney Baby | Toys Minnie Mouse Snuggly Blanket
$ 27.00$ 13.00 Add to cart -
Sale!
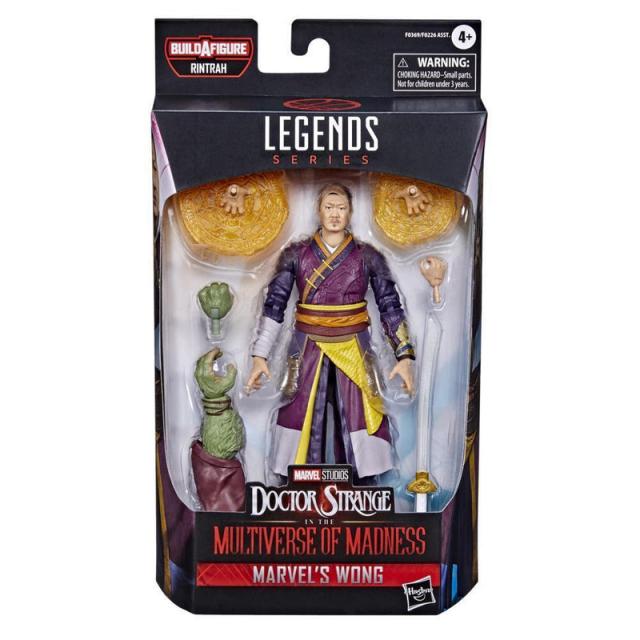
Marvel | Toys Legends Series Doctor Strangemarvels Wong
$ 32.00$ 15.00 Add to cart -
Sale!
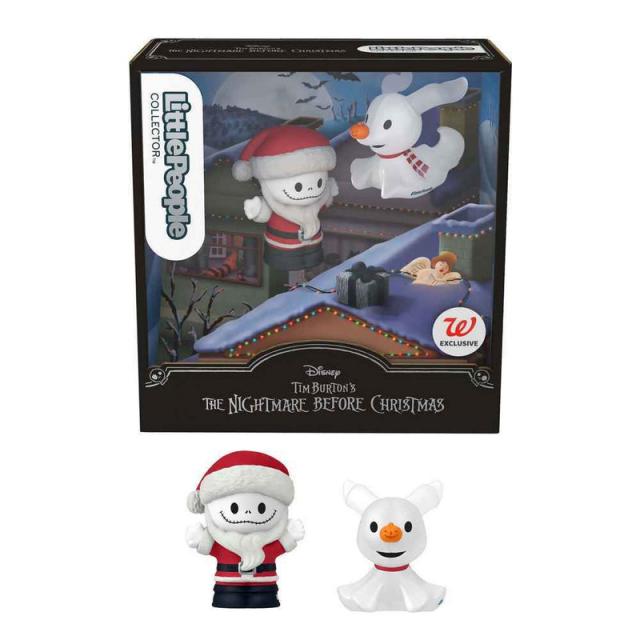
Little People | Toys Collector Disneythe Nightmare Before Christmas
$ 29.00$ 13.00 Add to cart